
October 2026 · About 6 minutes
An entrance release is six decisions, and the shop can only make one of them for you.
The storefront package goes out clean. The entrance in the middle of it goes out with “per hardware schedule” written next to the door, a handing the estimator took off the floor plan, and a threshold nobody has looked at since the walk-through. The frames come back fine. The door comes back with the pivot prep on the wrong stile, the closer on backorder because the stile is too narrow for it, and a threshold that does not meet the slab. Every one of those was decided, or not decided, before release.
Here are the six storefront door hardware and frame details that cause the most problems, in the order the shop needs them.
1. Door handing: say it the way the shop reads it
Handing is the first thing to verify, along with the door size and the frame dimensions, because everything cut into the door depends on it. The problem is that the architect, the hardware supplier, and the fabricator do not always mean the same thing by RH. The LearnGlazing Door Handing course lays out the conventions: hardware manufacturers mark an offset pivot LH or RH by the direction of the pivot only, with no in or out; fabricators doing take-offs look at the building from the exterior, so an outswing door gets the reverse designation (RHR); and on a pair, the active leaf is the one with the lock.
Do not release a door on a letter code alone. Put a plan-view diagram on the release that shows the hinge side and the swing as you would see it walking up to the opening, and note which leaf is active. If your handing label disagrees with the hardware supplier’s, the diagram settles it and the letter code does not.
2. Stile width: the hardware has to fit the door
Storefront doors come in three stile widths, and the common sizes are 2 inch narrow, 3-1/2 inch medium, and 5 inch wide. The stile is where the lock, the pivot, and the closer arm land, and not every device fits every stile. A closer that installs cleanly on a medium stile needs a drop plate on a narrow one. A mortise lock body may not fit a narrow stile at all. Confirm that the hardware on the schedule is compatible with the stile size on the door before you release, and if you are not sure, ask your hardware supplier; they check this every day and it takes them a minute.
If the schedule calls for a device the stile cannot take, that is an RFI before release, not a shop problem to work around after the stiles are cut.
3. Offset pivots: handed, and they set the prep
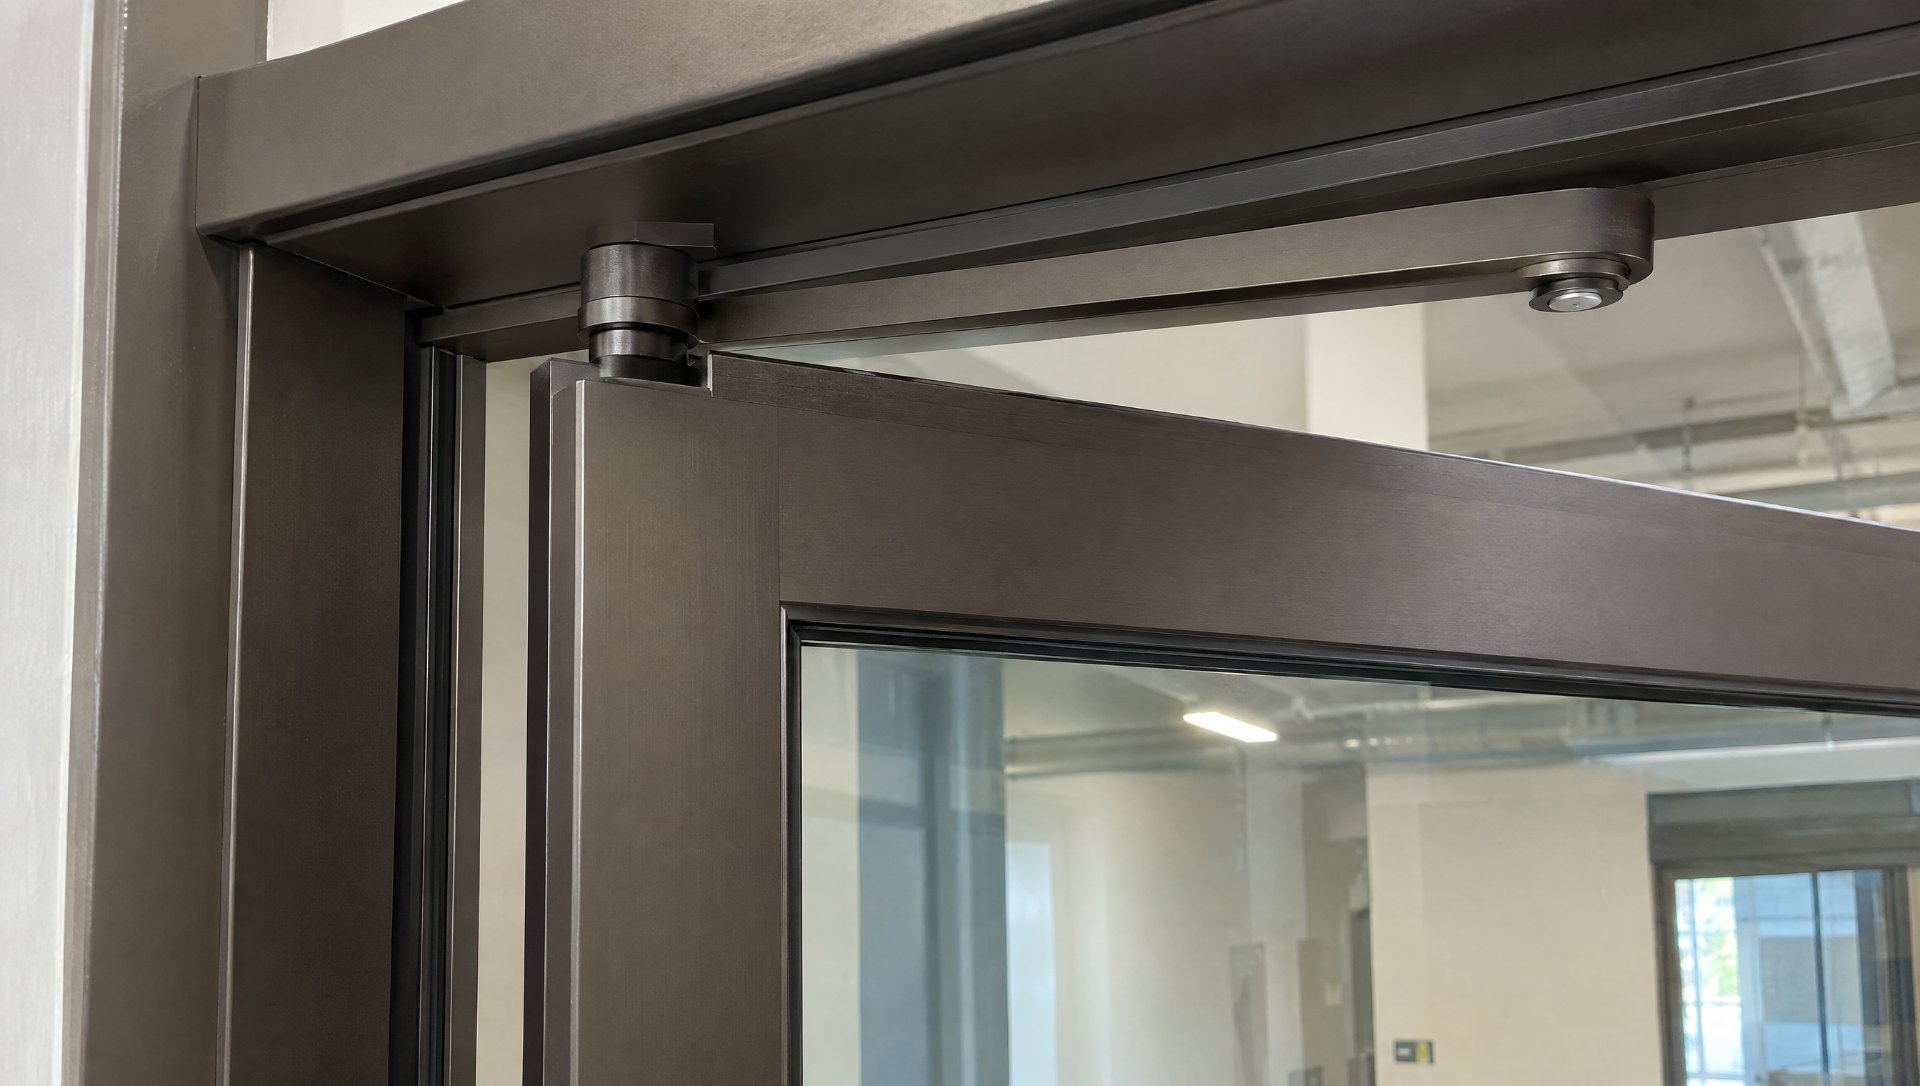
Offset pivots are the standard hanging method on aluminum entrances, and they are handed. The top pivot, the intermediate, and the bottom arm are all cut and prepped in a specific location on a specific stile for a specific swing. If the handing on the release is wrong, every pivot prep on the door is wrong, and the door is scrap or a shim job. Pivots also decide the frame prep: the header gets the top pivot prep, and the threshold or the floor gets the bottom. Confirm the pivot set, the handing, and whether the bottom pivot sits in the threshold or in a floor plate before release, because the shop preps the frame and the door together.
4. Closers: pick the mount before the stile is cut
A closer is a mount, an arm, and a body, and the mount decides what the shop preps. A surface closer in standard mount goes on the pull side; top jamb mount goes on the frame; parallel arm goes on the push side and tucks the arm in. Overhead concealed closers live in the header and change the header extrusion. Floor closers go in the slab and change the threshold and the bottom rail. The Introduction to Door Hardware course covers the categories; what matters at release is that the schedule names one and the release says where it mounts.
Also check that the closer template is available. The shop drills to the manufacturer’s template, not to a catalog picture, and a closer with no template on file is a door that waits.
5. Thresholds: the drawing and the slab are not the same thing
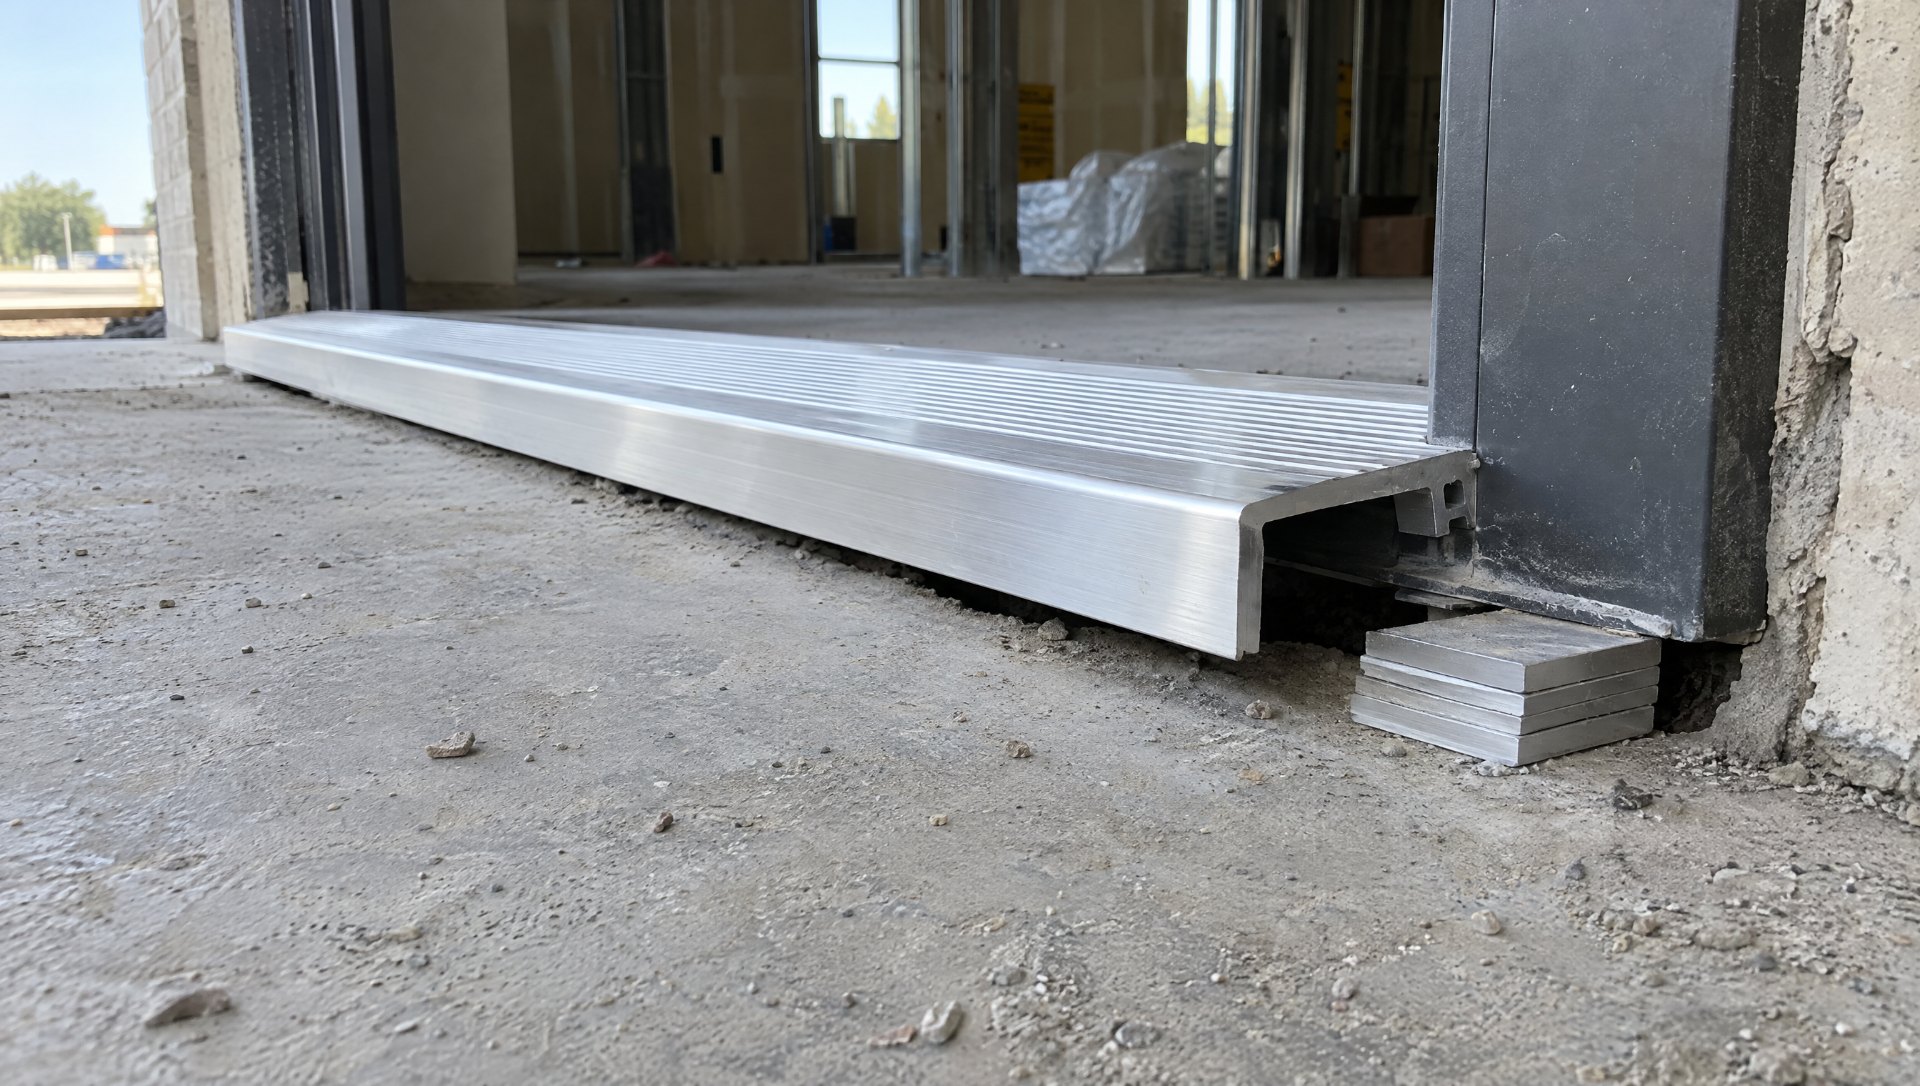
The threshold on the shop drawing is a clean line at finished floor. The slab is not. Before release, check the actual jobsite condition against the drawing: is the slab at the elevation the drawing assumes, does it slope across the opening, is there a recess for the threshold or does it sit on top, and is the finished floor on the interior side a different material and height than the exterior? Each answer changes the threshold profile, its length, and sometimes the door height. A threshold that is right on paper and an inch short in the field is a return trip, and the door cannot hang until it is fixed. ADA also sets a maximum threshold height, which limits how much you can shim your way out of a low slab.
6. Hardware prep and electrified devices: resolve them before fabrication starts
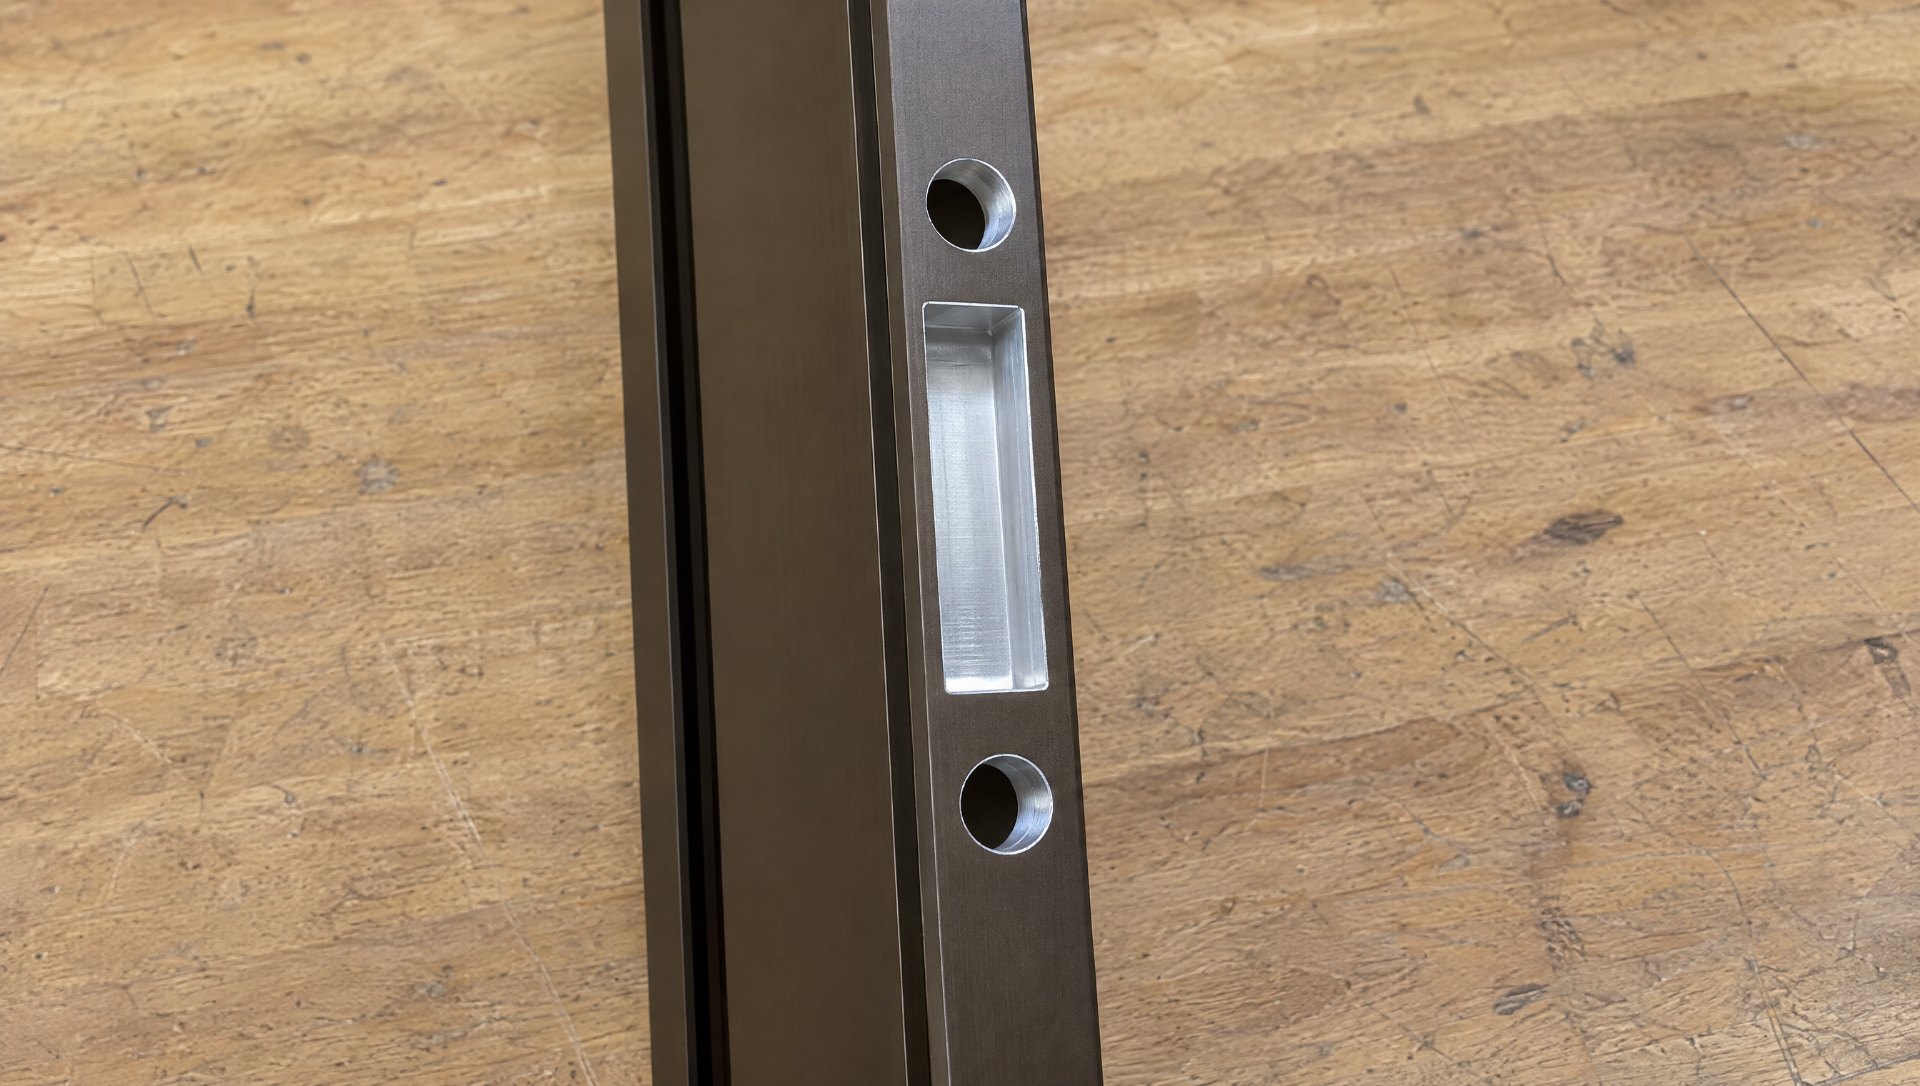
Hardware prep is everything the shop cuts into the door and frame for the hardware: lock mortise, strike, pivot preps, closer holes, pull and push bar holes, and the EPT or power transfer prep if the door is electrified. Each one needs the manufacturer’s template, so the release should list every device by model and confirm the template is on file. “Per hardware schedule” is not a release.
Electrified hardware is its own item. If the door has an electric strike, an electrified exit device, or a card reader, the shop needs to know before fabrication starts, because the wire path through the frame and into the door gets prepped on bare extrusion. Finding out after the finish is on means drilling finished metal. Confirm the electrified requirements with the hardware supplier and the electrician before release; the full wiring path is covered in the electrified door hardware article.
The takeaway
Entrance fabrication goes smoothly when door size, handing, hardware, prep, finish, and electrical requirements are all resolved before release. Put all six on the release in writing, with a handing diagram and a template list, and have the shop confirm it has what it needs before the first stile is cut. The PM owns the answers; the shop owns the preps.
WestMetal Fabrication fabricates and preps aluminum entrances from the contractor’s approved shop drawings and hardware schedule, to the manufacturer’s templates, with the handing confirmed before cutting. See what WestMetal fabricates.
Learn the fundamentals on LearnGlazing
Two free LearnGlazing courses cover the ground this article skips. Door Handing walks through shop operations and delivery considerations, and Introduction to Door Hardware explains knocked-down, shop-assembled, and pre-glazed packaging. WestMetal Group is a LearnGlazing partner through the GlazierIQ network. Browse the full course catalog.
Bob Baumann
Sales, WestMetal Group
I have been on the fabrication side of glazing for a long time, and before WestMetal I ran a shop floor where the release was the thing that decided whether the week went well or badly. I still read every package that comes in before it goes to the saw, and I still call the PM when something on it does not add up. WestMetal Group is part of the GlazierIQ network with MP Drafting and LearnGlazing. Questions about an article or a package? Send it to Bob.
</div >