
September 2026 · About 5 minutes
Electrified door hardware fails in the same place on most jobs: not at the device, but somewhere between the ceiling and the door, in the eight feet of aluminum nobody planned a wire through.
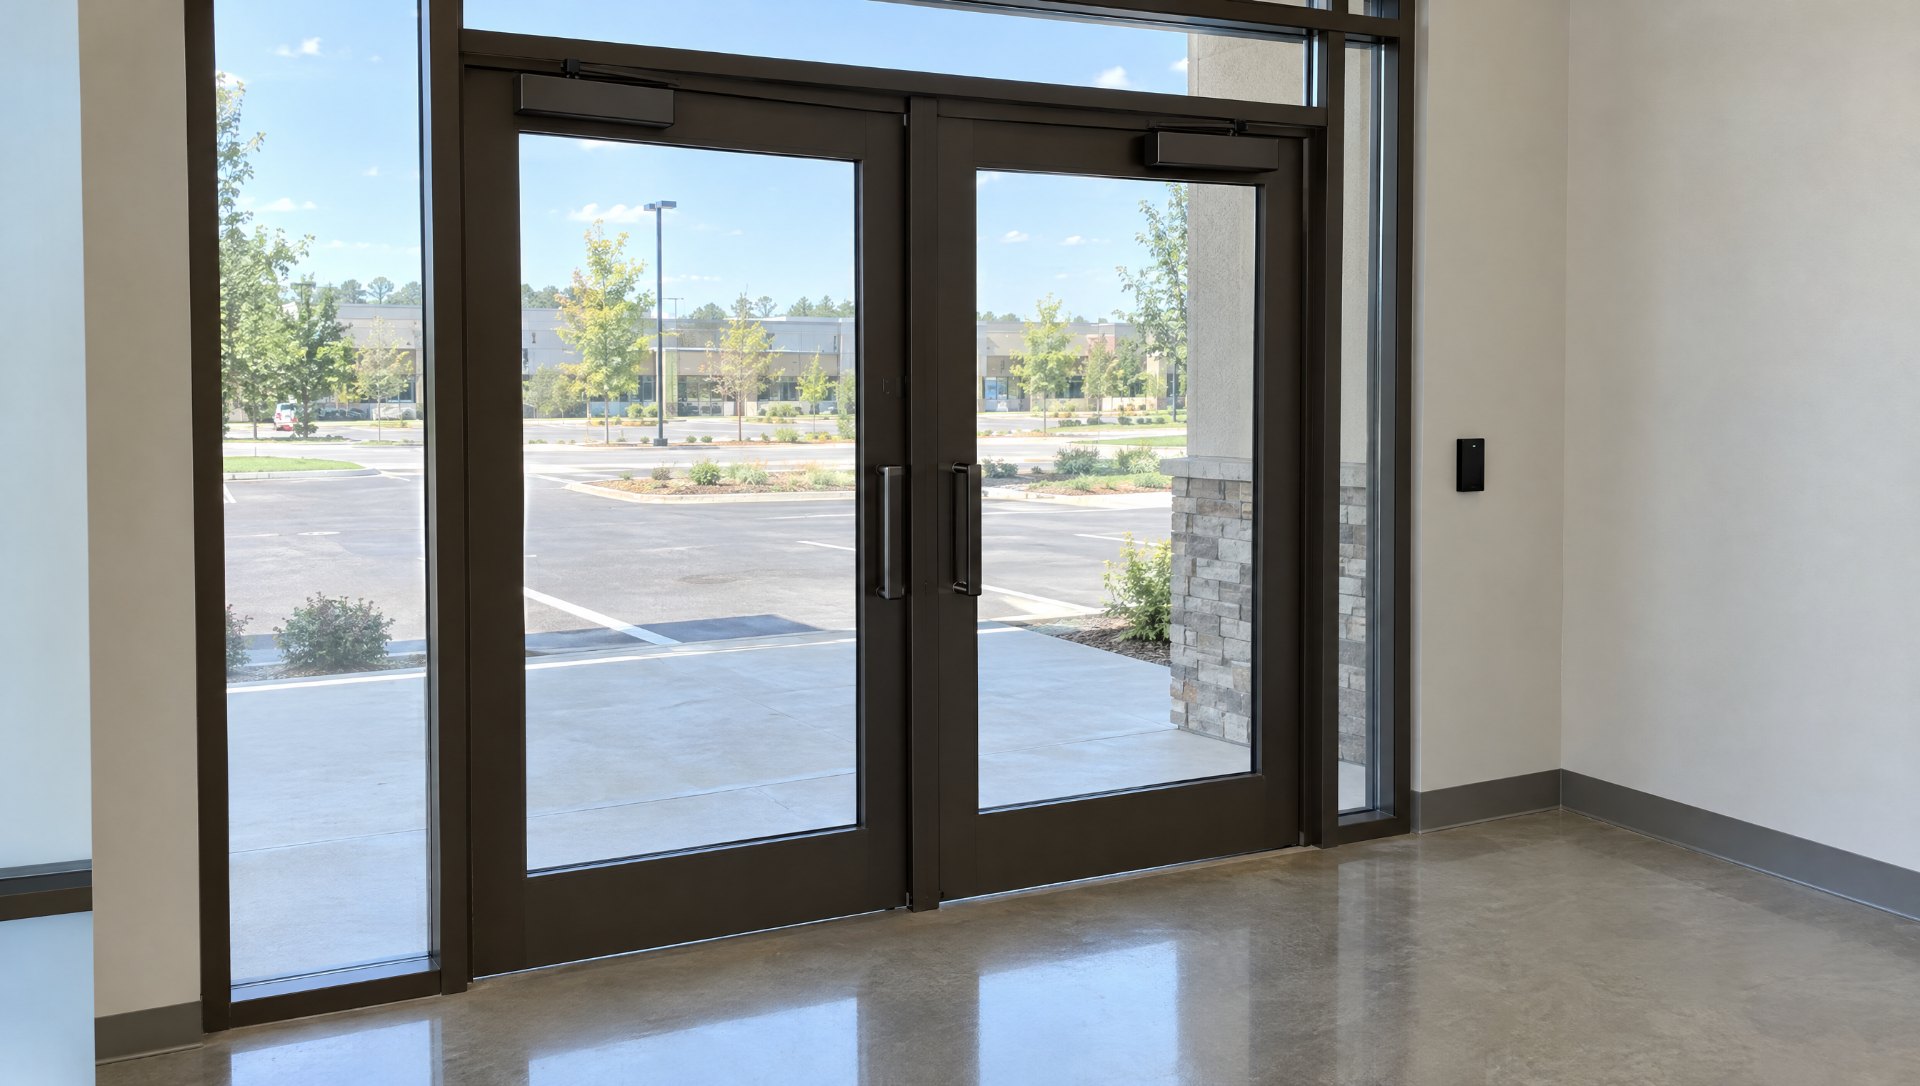
The entrance is built. Charcoal anodized, medium stile pair, closers hung, glass in. Then the access-control contractor shows up with a spool of 18-gauge and asks where the wire goes. The electrician says the power supply is above the ceiling, right where the drawings put it. The hardware supplier says the exit device has electric latch retraction, which it does. And the glazier gets to watch someone drill into a finished door rail.
Every trade did its part. Nobody drew the path.
Start With the Devices, Not the Wire
Before anybody talks about routing, list every powered device on the opening and which side of the joint it lives on.
Frame-side devices are the easy ones. An electric strike mounts in the jamb. A maglock mounts on the header. A door position switch sits in the frame. None of those need a wire to reach the door, so the frame is the only thing that gets prepped, and the frame is prepped in the shop.
Door-side devices are where the money goes. An exit device with electric latch retraction, an electrified mortise lock, electrified trim, a request-to-exit switch in the push bar. All of those ride on the door, and the door swings. Power has to cross a moving joint to get there.
So read the hardware schedule again. “EL” or “QEL” next to the exit device means a door-side device and a transfer. A strike and a reader alone may mean you never touch the door. That one distinction changes the fabrication package more than anything else on the sheet.
Getting Power to the Opening
Power supplies live above the ceiling. The low-voltage run drops from there into the header, so the header extrusion needs a routed opening where the conduit lands, sized for the fitting the electrician is actually going to use, in a spot that will not end up behind a mullion.
Ask the electrician where the supply is going and how they plan to get to the header. Ask before fabrication. The answer is usually “wherever is convenient,” which is fine, as long as convenient is also where the hole is.
Crossing the Moving Joint: Electric Power Transfers, Electrified Hinges, and Door Loops
This is the step that gets skipped. The wire is in the frame. The device is on the door. Three ways across.
Electric power transfer (EPT). A concealed unit mortised into the hinge stile of the door and the frame jamb, with an armored loop between them. Allegion’s Von Duprin EPT-10 is the one most people mean when they say EPT, and its template gives the mortise prep for both the door and the frame. Both preps get cut before the finish goes on, which means the fabricator needs the EPT model and its location before the door is built.
Electrified continuous hinge. A geared continuous hinge with the wires run through it. No separate transfer, and it looks like every other hinge on the building. It has to be ordered electrified, and the door and frame need a wire exit at the top or at an intermediate point. If the door hangs on offset pivots, this option is off the table.
Door loop. The exposed armored cable from frame to door at the top of the hinge side. Works with any hanging method, including pivots. Also the one architects hate to see, so check the drawings before you count on it.
Pivot-hung doors are the common case in storefront, and a pivot does not carry a wire. Most of them end up with an EPT. Plan for it.
Inside the Door
The wire crossed the joint. It still has to reach the device. An aluminum stile is hollow, which sounds convenient until you try to pull 18-gauge around a corner block at the top rail. The fabricator needs to know the wire is coming so the stile and rail get a clear path, an access opening at the device, and no cross-drilled screws in the way.
Electric latch retraction is its own case. QEL devices want a specific power supply and a heavier gauge than a strike does. The hardware supplier will tell you both if you ask. If you do not ask, the device sits there looking expensive and not retracting.
Whose Job Is This
Four trades touch one opening. The glazier owns the frame, the door, and the preps. The hardware supplier owns the device specs and templates. The electrician owns the supply and the run to the header. The access-control contractor owns the reader, the REX, the position switch, and the terminations.
None of them owns the path. Somebody on the glazing side has to, because the glazier is the one drilling finished aluminum when it goes wrong. The coordination question on an electrified opening is not “who is providing the strike.” It is “show me on the elevation where every wire enters the frame, crosses to the door, and reaches the device.” No answer, no release.
Why It Has to Be Resolved Before Fabrication
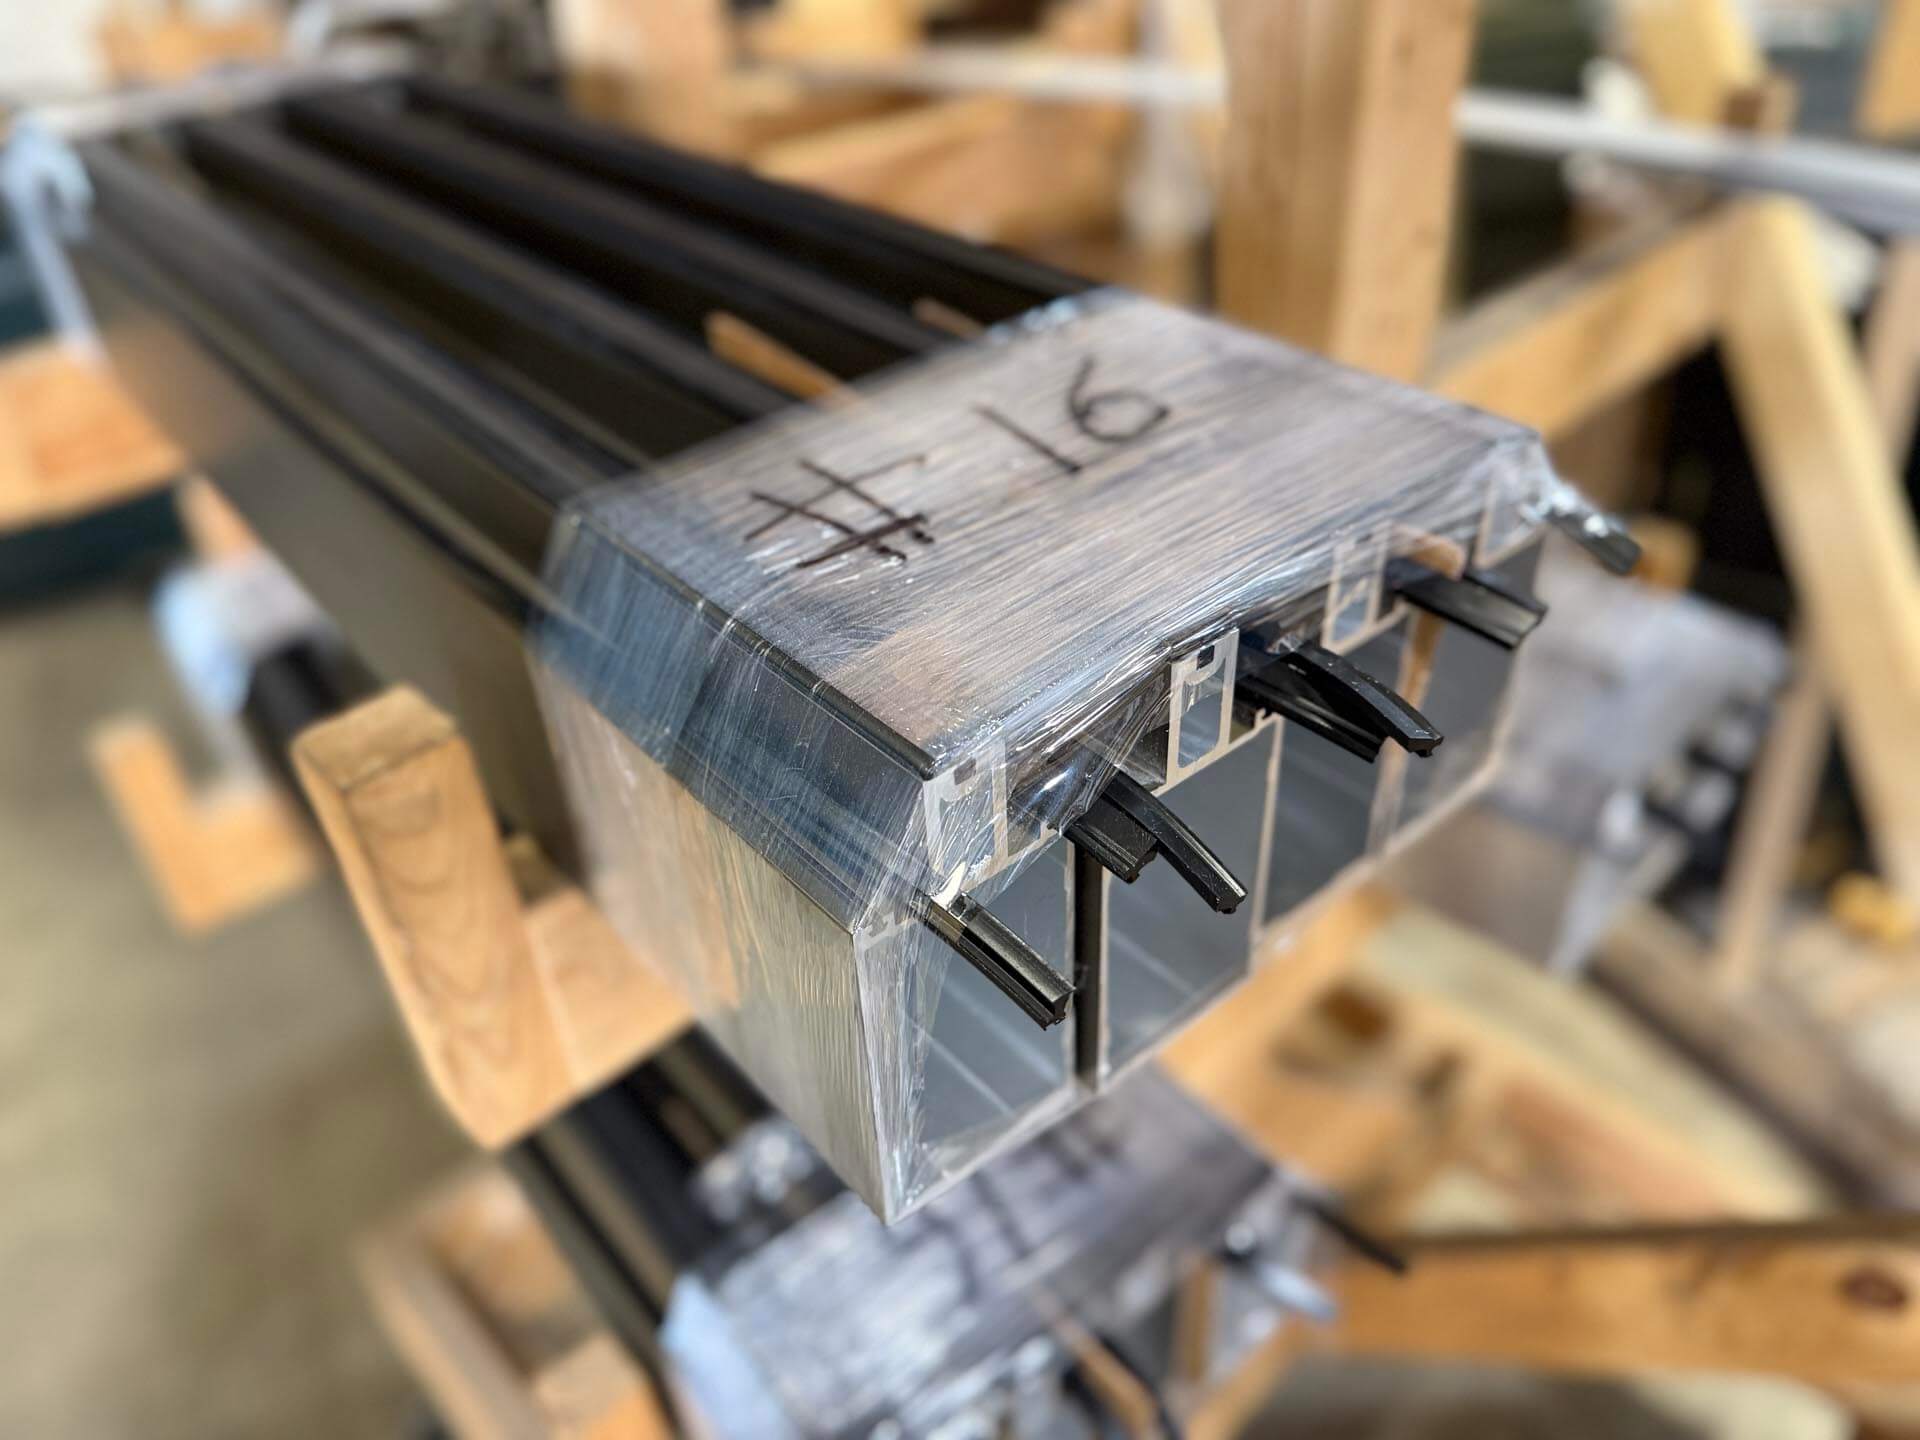
An EPT mortise in the shop is ten minutes on a bare extrusion. The same mortise in the field is a finished door on sawhorses, a router, a scar in the finish next to the hinge, and a hardware installer waiting on the glazier. Every prep on this list is trivial before finish and expensive after it.
Here is the takeaway. Take the hardware schedule and the elevation, and for each opening with electrified door hardware draw a line from the power supply to the device. Every place that line passes through aluminum is a prep the fabricator needs on the release. If you cannot draw the line, do not release the opening.
Fabrication That Arrives Ready for the Wire
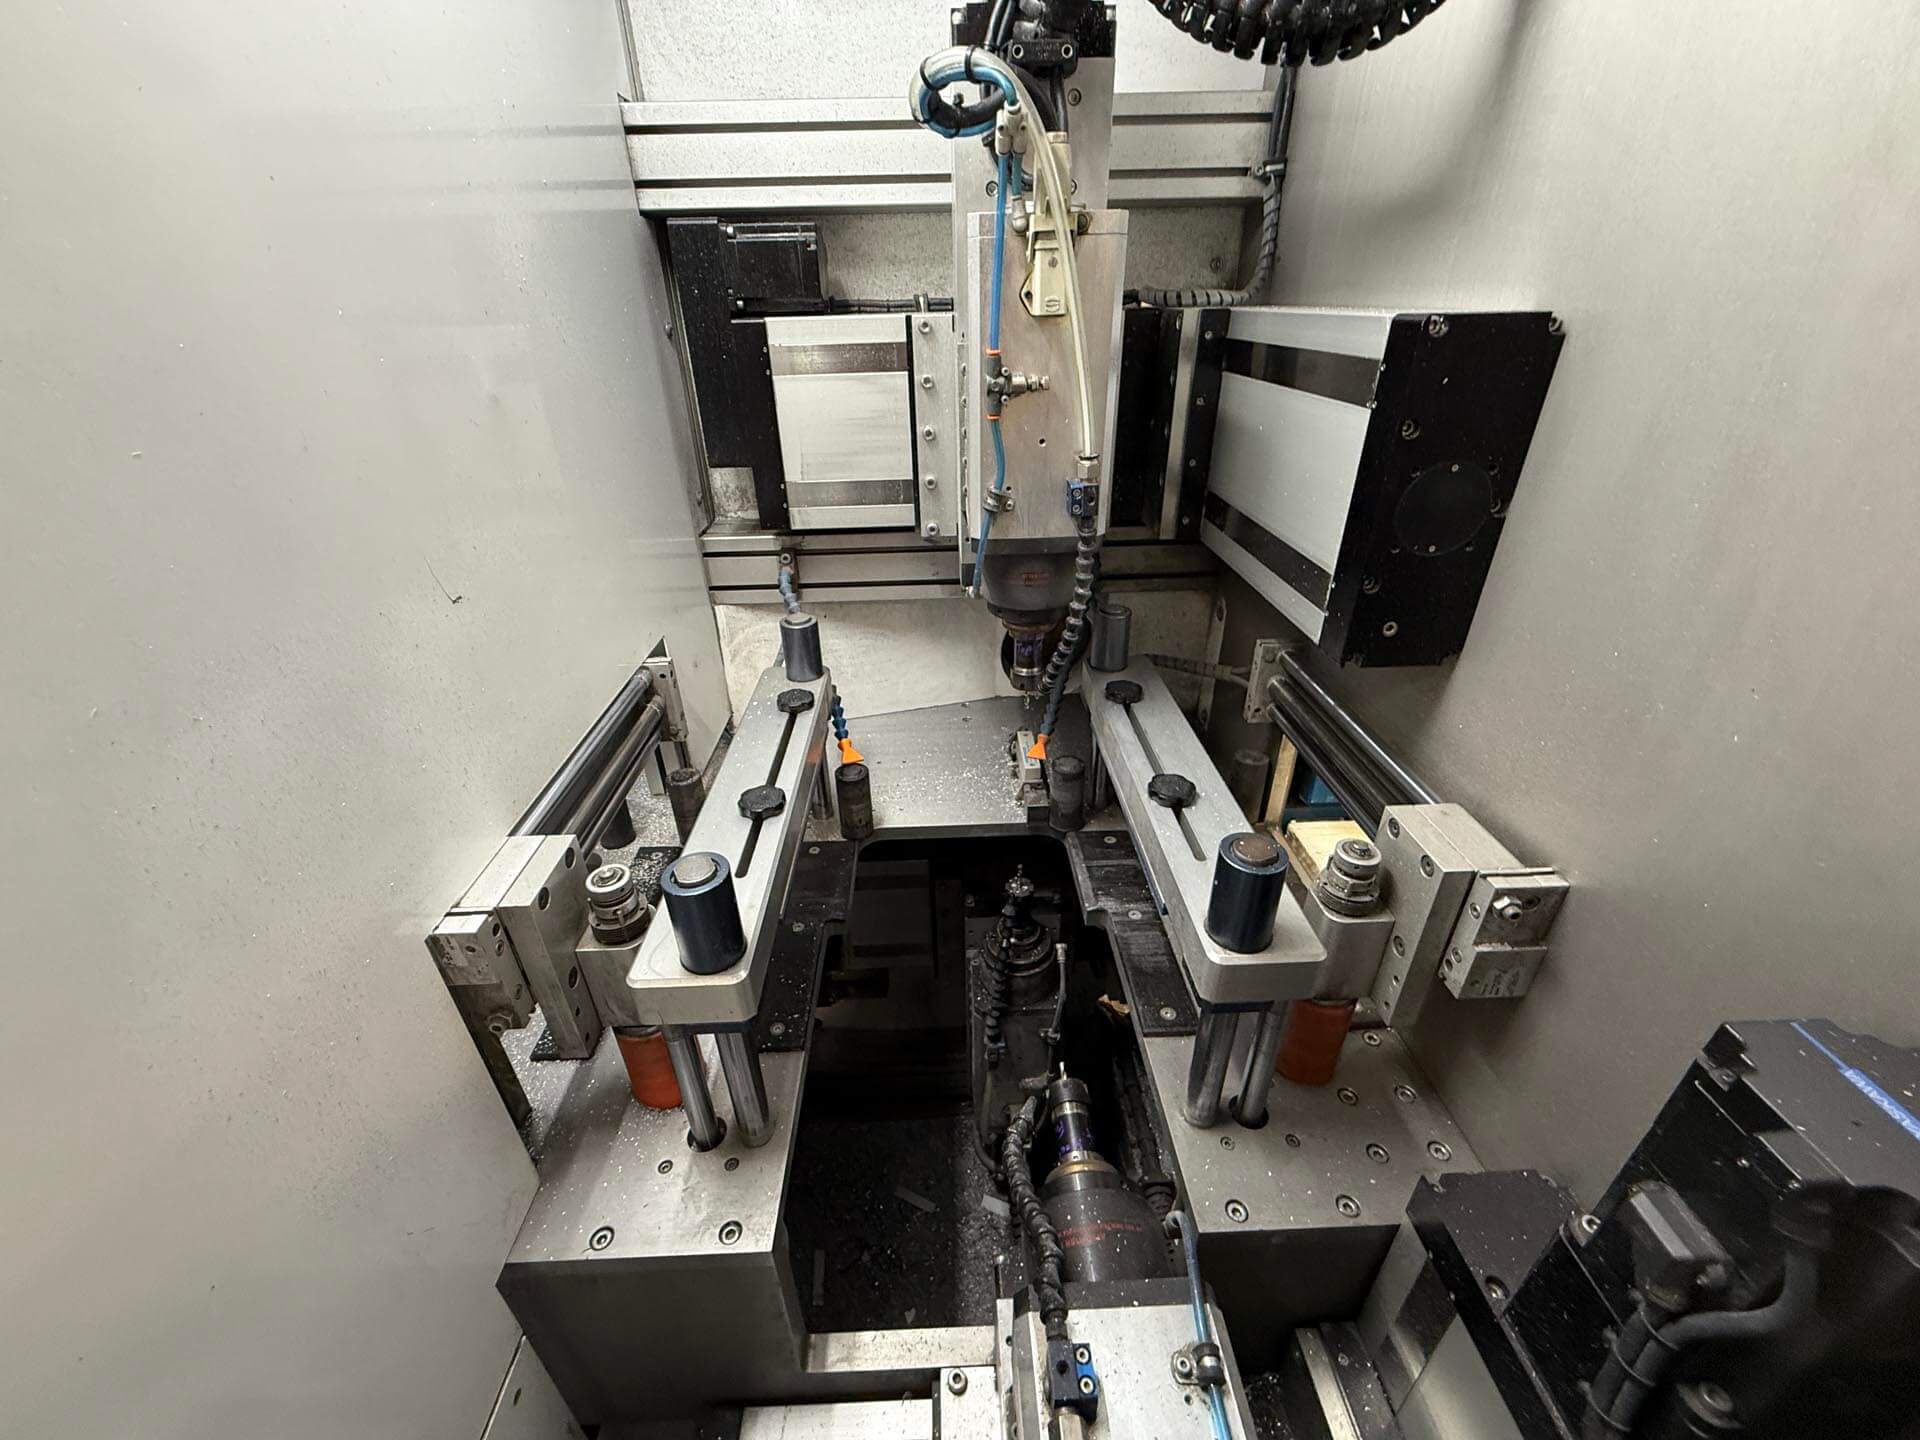
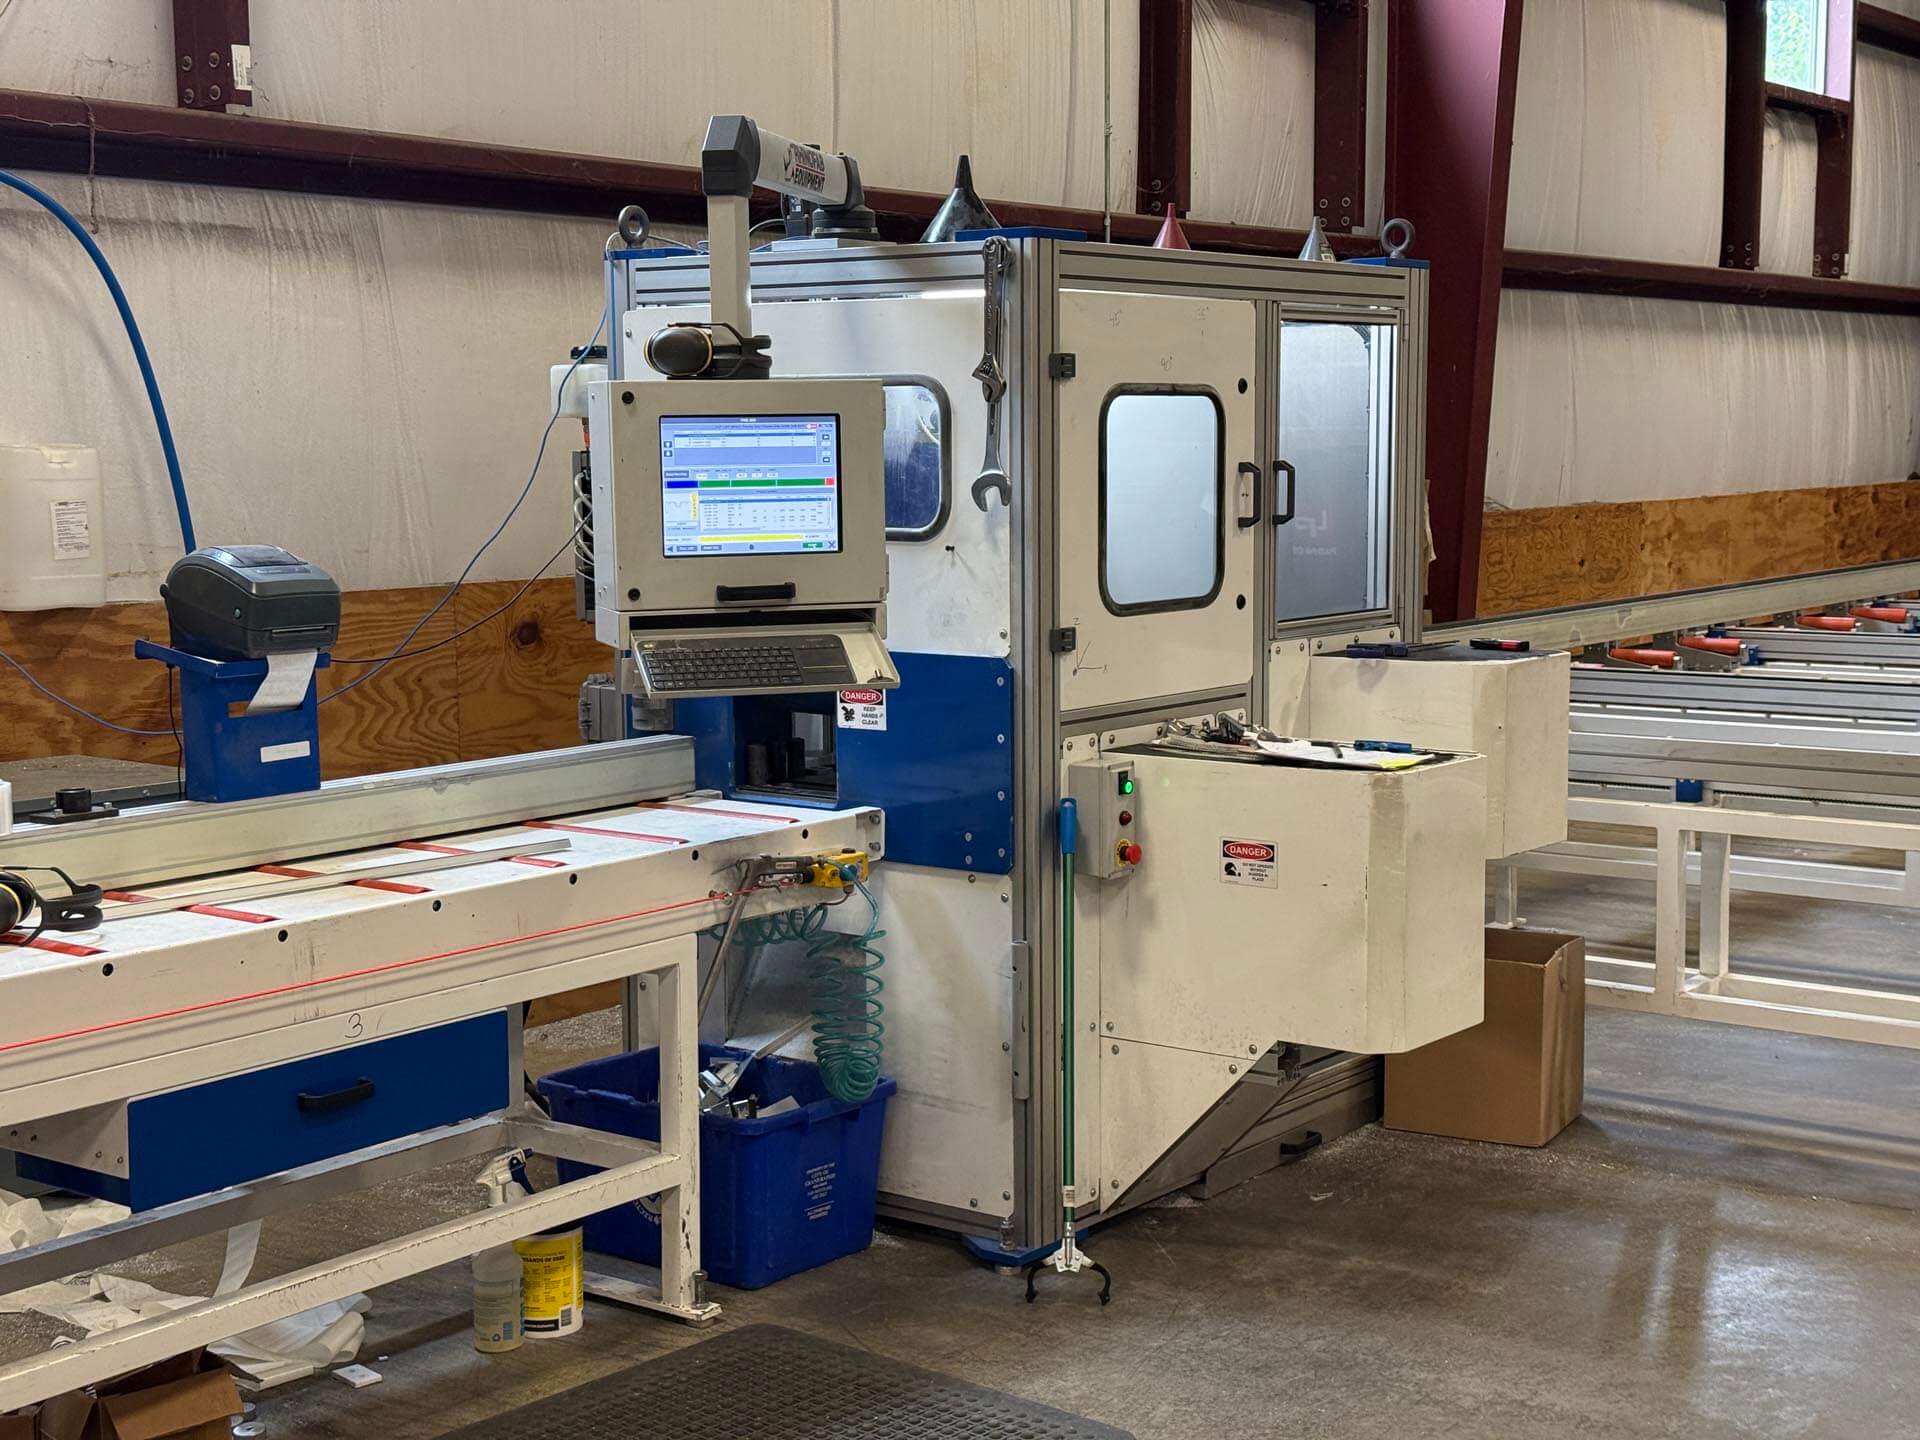
WestMetal fabricates storefront and entrance packages with the hardware preps, EPT mortises, and raceway openings cut in the shop from the hardware schedule, so the door shows up ready for the wire instead of ready for a router. Send us the elevation and the hardware schedule and we will tell you what the release is missing.
Learn the fundamentals on LearnGlazing
This article assumes you know your way around door hardware. If your PMs or installers are newer to it, these on-demand LearnGlazing courses cover the parts named above, from hinges and exit devices to what a fabricator needs prepped.
- Introduction to Door Hardware hinges, locks, exit devices, closers, and ADA requirements.
- Panic Hardware rim, mortise, and vertical rod exit devices, and where the electrified versions fit.
- Introduction to Fabrication what happens to a release once it hits the shop, and why preps matter.
WestMetal Group is a LearnGlazing partner through the GlazierIQ network. Browse the full course catalog.
Bob Baumann
Sales, WestMetal Group
I have been on the fabrication side of glazing for a long time, and before WestMetal I ran a shop floor where the release was the thing that decided whether the week went well or badly. I still read every package that comes in before it goes to the saw, and I still call the PM when something on it does not add up. WestMetal Group is part of the GlazierIQ network with MP Drafting and LearnGlazing. Questions about an article or a package? Send it to Bob.